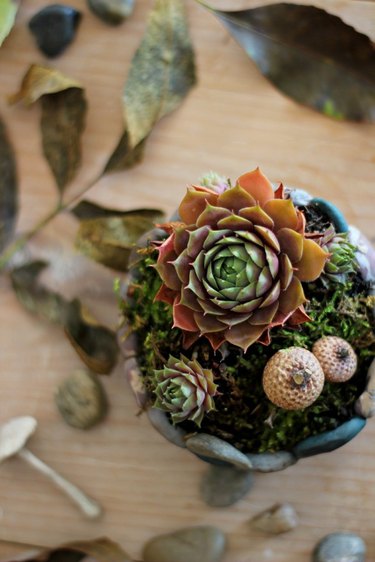
Although fall is one of my favorite seasons, I am a little sad to see summer go. I’ll miss trips to the beach, picnics and blooming gardens. So I thought, why not preserve a little bit of summer all year round?
I love finding new ways to create and today I wanted to share a fun idea to recreate faux stones using polymer clay, which we’ll then use to make a little planter or bowl.
Video of the Day
Things You’ll Need
-
Polymer clay (white, black, brown, translucent)
-
Scrap pieces of polymer clay
-
Salt
-
Pepper or sand
-
Mini grater (used for spices)
-
Oven safe bowl
-
River rocks or pebbles (to observe shape and color)
Step 1
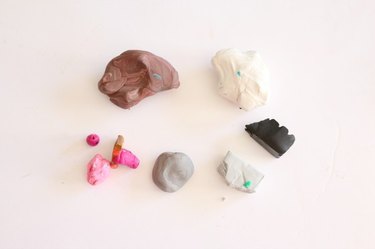
Take scrap pieces of clay and knead together. Depending on the colors you use, you will likely obtain a neutral color (either gray or brown). Combine colors to obtain desired colors (ie. white and black to form gray). Observe and study real pebbles to acquire the most realistic color.

Take gray, white, brown and combine together – being careful not to completely mix the colors – so you can see various veins running through the clay.
Step 2
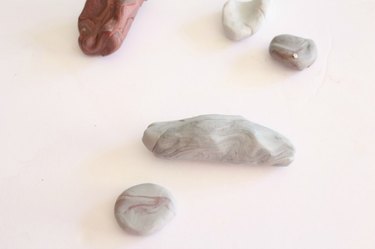
Take a small piece of clay and roll into a ball. It does not have to be perfect, as imperfections are what will make these look more realistic. Sprinkle a little sand, salt or pepper onto your work surface.
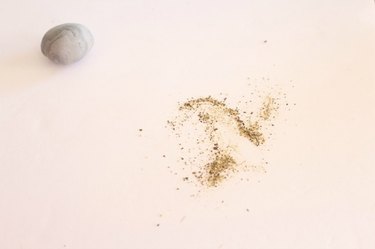
With your thumb, press down the ball of clay and dab clay onto texture (salt, pepper or sand).
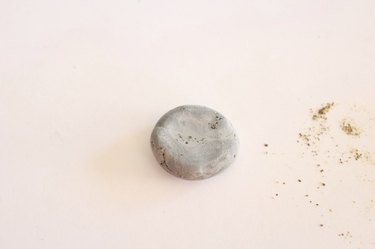
Step 3
For a more dramatic texture, you can place black, white and brown clay in the freezer for 5 minutes and grate them together on a piece of paper as shown. Place grated clay back in the freezer for 3 minutes, remove and sprinkle onto flatten ‘rock’. Gently press down to stick clay together. Refer to picture below.
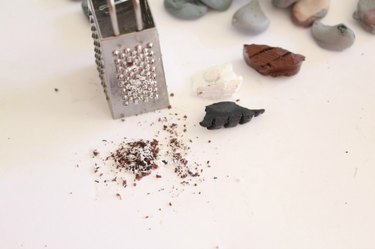
Here are my ‘stones’. You can see the variations in texture, color and shape. The more imperfect these are, the more realistic they will appear.
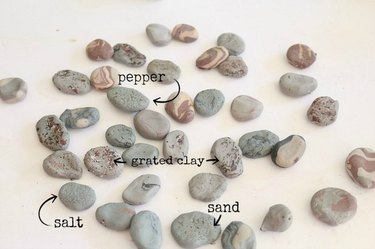
Step 4
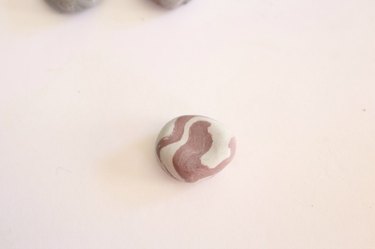
To create the veins on the stones, take two distinct colors and loosely twist together as shown.
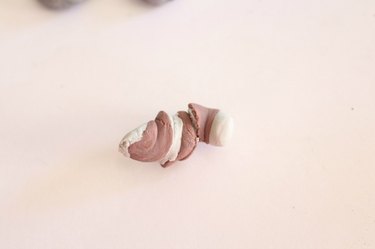
Make a ball, being careful not to combine the colors together too much.
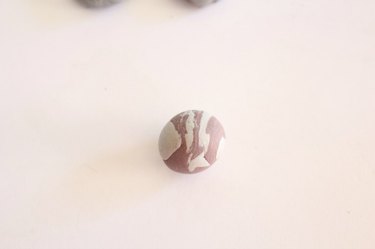
And like before, press down with your thumb to flatten.
Step 5
Once you are satisfied with your stones, it’s time to start building your bowl or planter. Start by placing a few stones together to form the center. Press together enough for the clay to adhere but not so hard that the stones lose their shape.
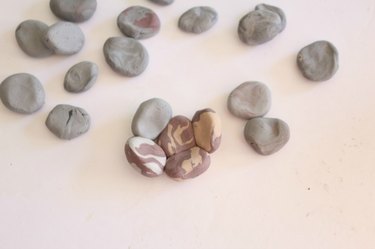
Continue with the next layer in a circular motion .
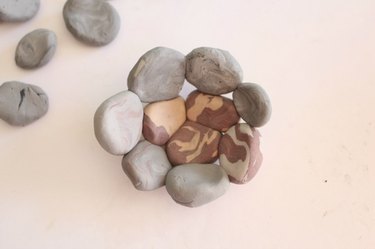
Continue adhering the stones together until you are satisfied with the size or you have used all your stones (I made approximately 40 stones and it yielded a bowl of approximately 4″ diameter and 2″ height).
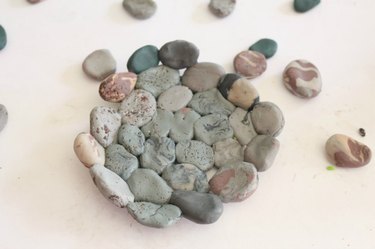
Step 6
Carefully place your stones inside an oven safe bowl. Note that the clay will take the shape of the bowl you used. Bake as per clay package instructions and allow to cool in oven.
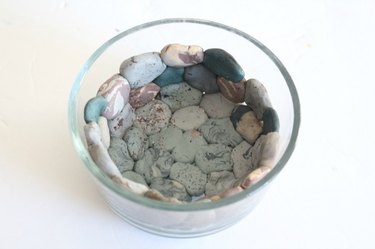
This is the bottom of my planter:
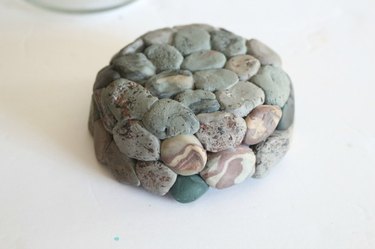
This is the inside:
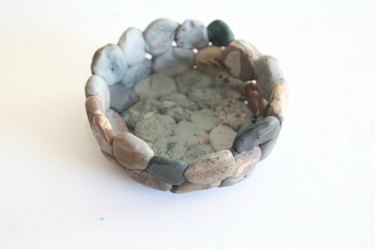
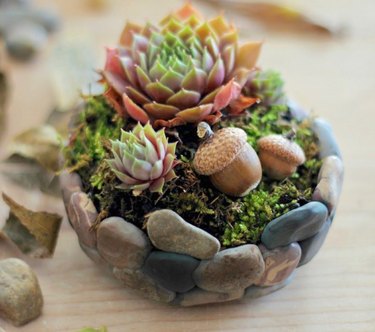
You can use it as is, or as a cute little planter with a lot of character. I decided to plant some of the succulents from our garden and added a few acorns to celebrate the season.
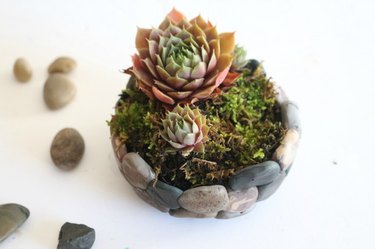
Don’t you just love the beautiful colors of fall? I hope you enjoyed this project and please don’t hesitate to leave a comment or drop me a line at craftberrybush@yahoo.com should you have any questions or need clarification.

